Here in this blog, I will show you how I usually deploy a website with server using Heroku. Hope you enjoy it!
If you have a static website or website with functions only in the frontend deployment is not that difficult. There are 3 ways that I usually use.
-
Using the Git deployment in Github
If you get in the Github setting page, you can scroll down to the Github Pages and publish your site directly from the whichever branch and folder you want. -
Using Heroku deployment
You can check this article to see how to deploy using heroku. You will need to push all of your files to a github and conenct the github to heroku -
Using Firebase hosting
Again you can check this article to see how to host using firebase. You will need to build your app in a way such that it is compressed to only 1 index.js file.
In this post, we will discuss how to specifically deploy a Nodejs, Reactjs project using Heroku.
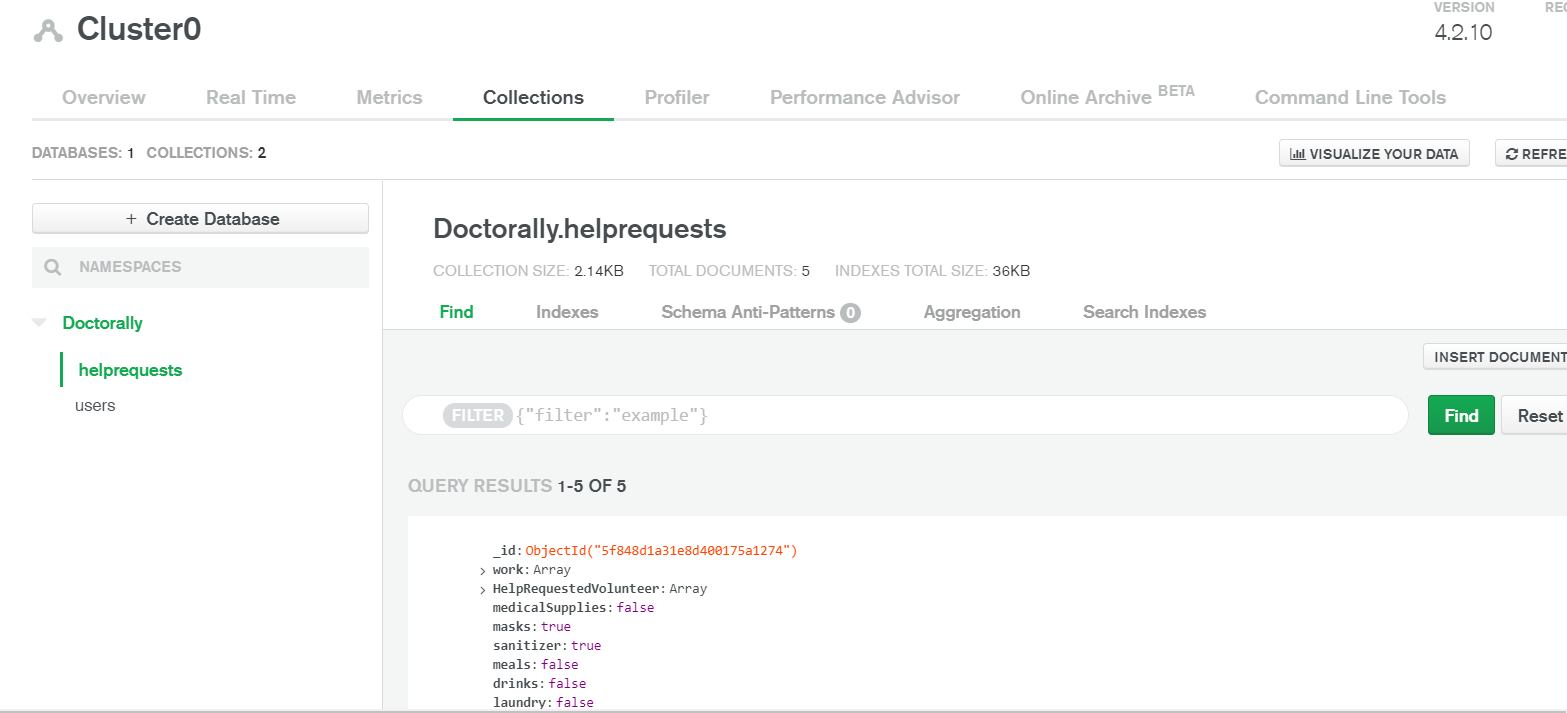
1. First you will need to create a Mongo Cloud Database
This is because if we use the normal local database, we will not be able to deploy our website so that others can access. You will also want to create a cluster and connect that cluster to your server. After finishing that, you will get something like this.
This is how you connect the database to your server in your index.js file
1 | mongoose.connect( |
2. Login to Heroku and create a new app
You will create a Heroku account and run the command “heroku login” in your terminal. Then you get into the Heroku website to create a new app in the pipeline.
It should look like this:

3. Connect Github to heroku
Create a new github repository. Add the remote location to the server folder (the backend folder). Then inside the heroku deploy page, you can find the repository and connect to github
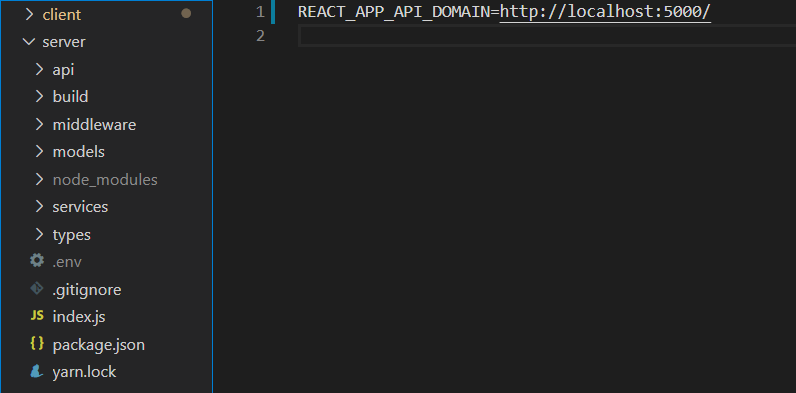
4. remember to change your API domain from localhost:5000 to (whatever ourwebsite link)
This is obvious because the localhost is only in your computer so no other people can access it. This should be stored in a .env file. Originally it should be like this
1 | REACT_APP_API_DOMAIN=http://localhost:5000/ |
So when you logged into the Heroku, get to the setting page and see the config part. You MUST add all the necessary .env values in the Config Vars part if you want your website to work.
Now you can change your REACT_APP_API_DOMAIN to whatever your website link will be. Mine will be (https://doctorally-test.herokuapp.com/)
5. Build and add to server
Get into the client folder (the frontend) and run yarn build. It will produce a build folder that has all of your frontend materials. Cut and paste it into the server folder (the backend).
Now basically our whole app is in the server folder. It will look like this:
6. Add path finding in the server index.js
We must add these 2 lines in order for the server to look exactly for the build folder we just added.
1 | app.use(express.static(path.join(__dirname, "build"))); |
Remember to use cors in order to call HTTP request from different pages:
1 | app.use(cors()); |
And now our server folder is set. We are ready to push and deploy
7. Push and deploy
Get into the server folder. Perform git add, git commit and git push to the github repository we have created earlier.
And now we can get into the Heroku main page of our app. Get to the Deploy Page and deploy branch (usually master).
Now congratulations your app is now up and running online !!
If you like this blog or find it useful for you, you are welcome to leave a comment. You are also welcome to share this blog, so that more people can participate in it. If the images used in the blog infringe your copyright, please contact the author to delete them. Thank you so much!